HomeStore
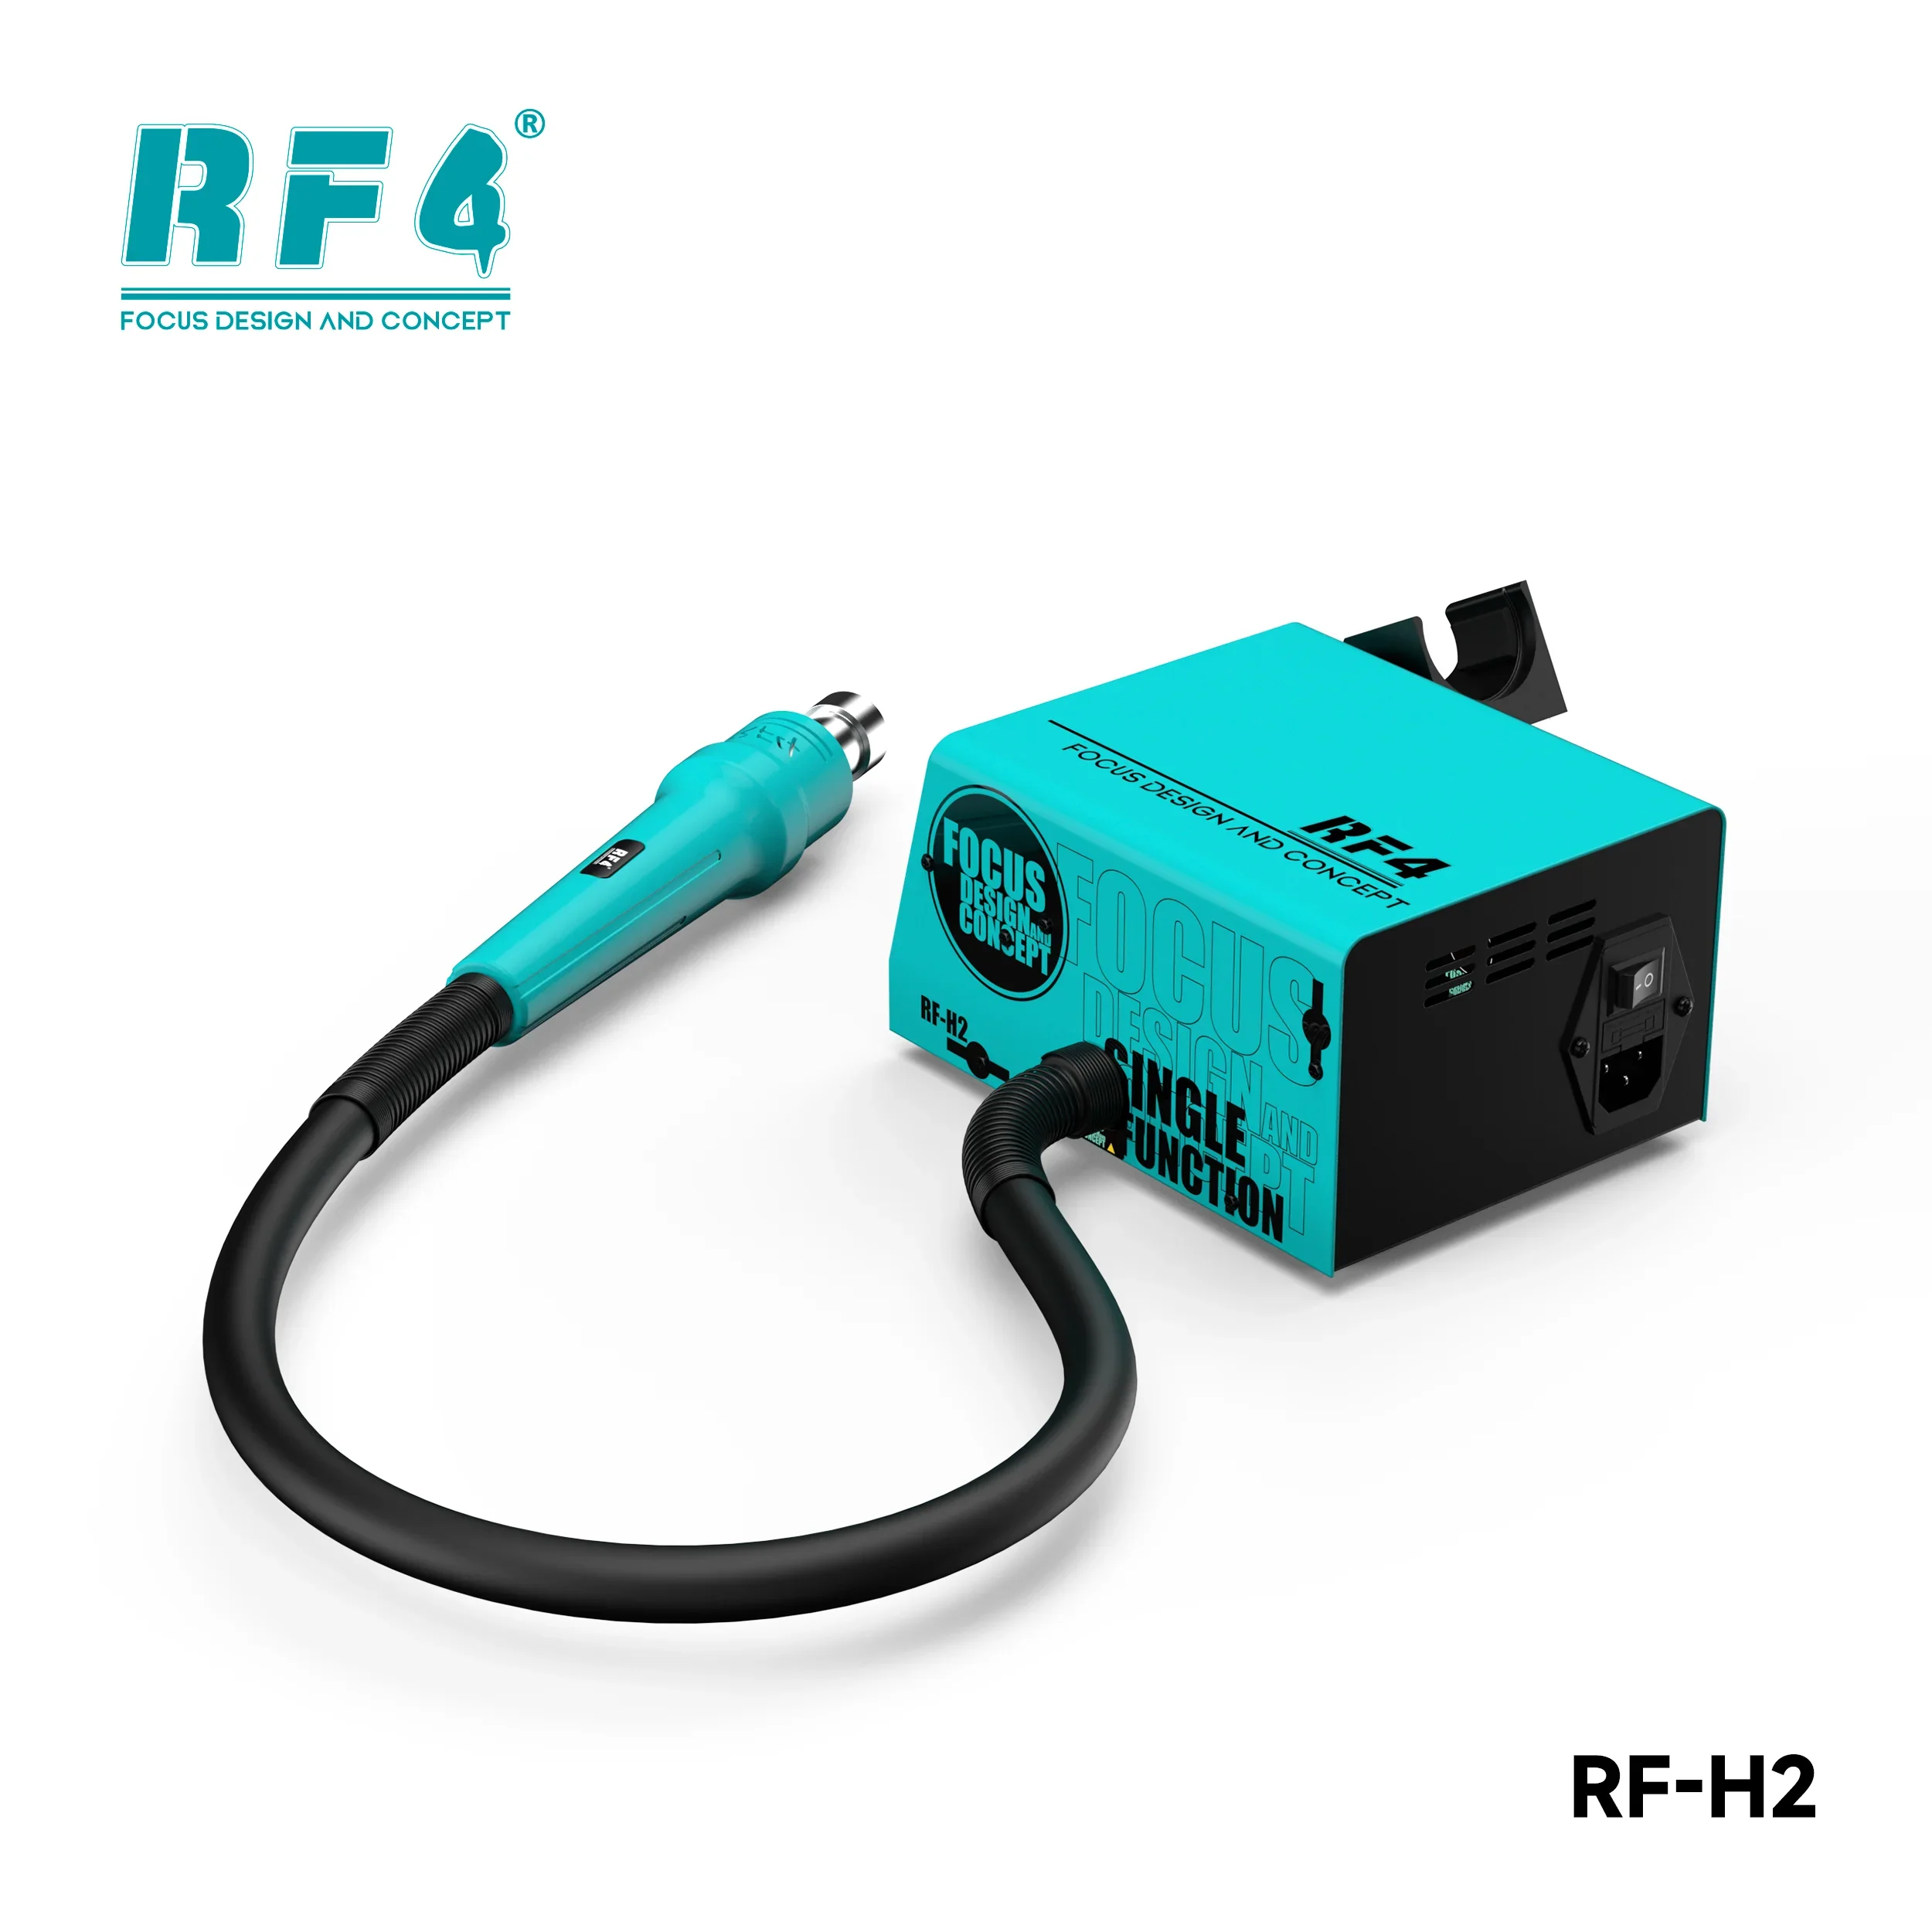
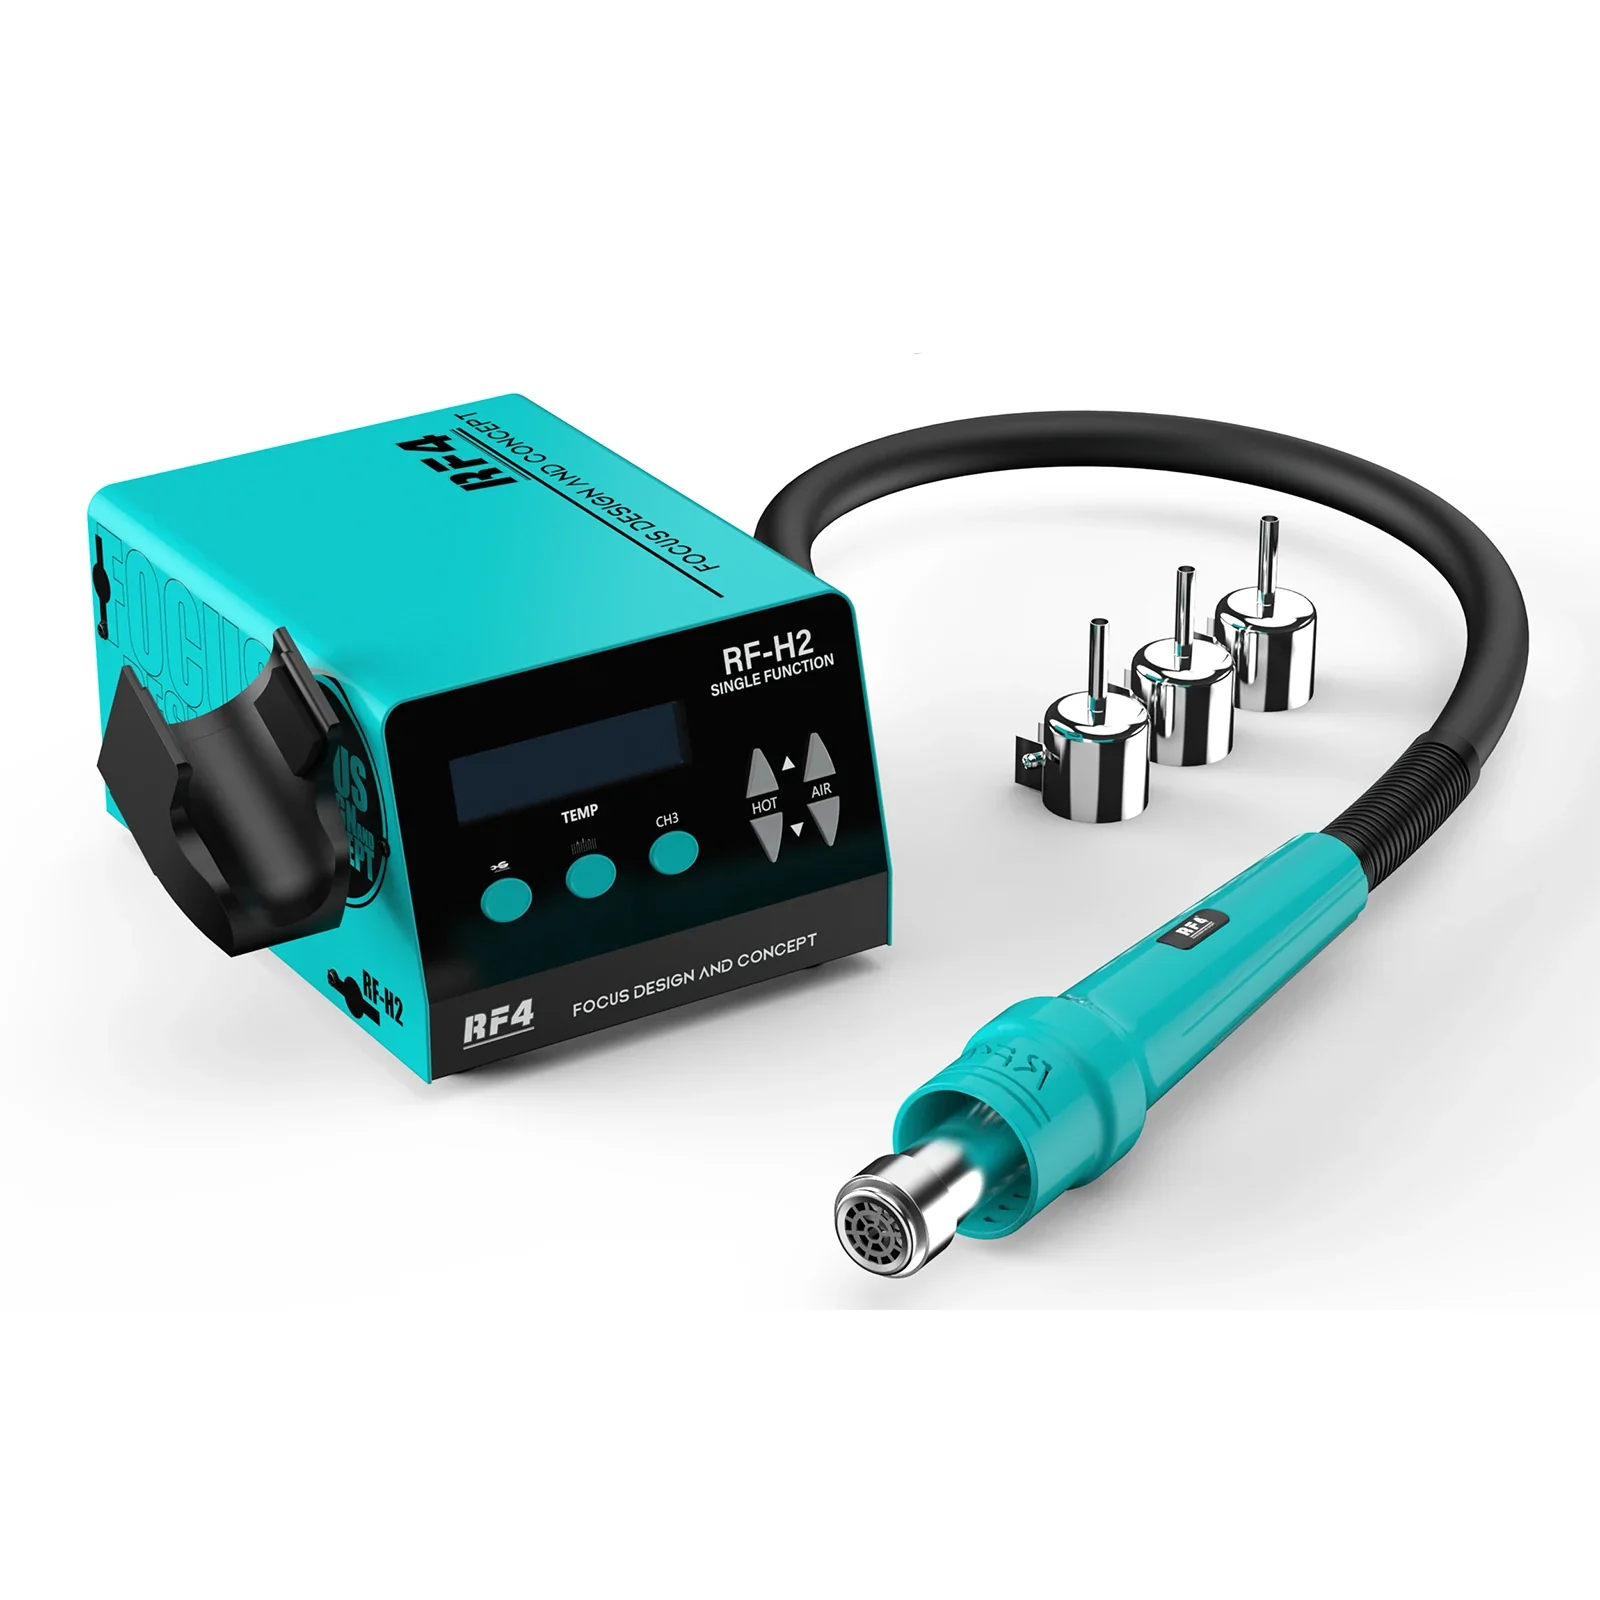
RF4 New1000W Fast Desoldering Hot Air Gun Soldering Station Digital Display Intelligent BGA Rework Station To PCB Chip Repair H2
RF4 New1000W Fast Desoldering Hot Air Gun Soldering Station Digital Display Intelligent BGA Rework Station To PCB Chip Repair H2
RF4 1000W Fast Desoldering Hot Air Gun Soldering Station Digital Display Intelligent BGA Rework Station To PCB Chip Repair RF-H2
This is the user manual. Please follow the instructions in the manual to install the video.


https://gv-vod-cdn.aliexpress-media.com/ae_sg_gmc/video_target/gv97-cf0a60c4-a1c056e6-97c51ab3-0acc/trans/4153ea6d-8fb8-47de-8d8a-2fa05bcceef4-h264-hd.mp4?auth_key=1752829645-0-0-e8f05bc47b3851dd19934b16c12d2e82
Select Color
Select Voltage
From $33.50
Original: $111.67
-70%RF4 New1000W Fast Desoldering Hot Air Gun Soldering Station Digital Display Intelligent BGA Rework Station To PCB Chip Repair H2—
$111.67
$33.50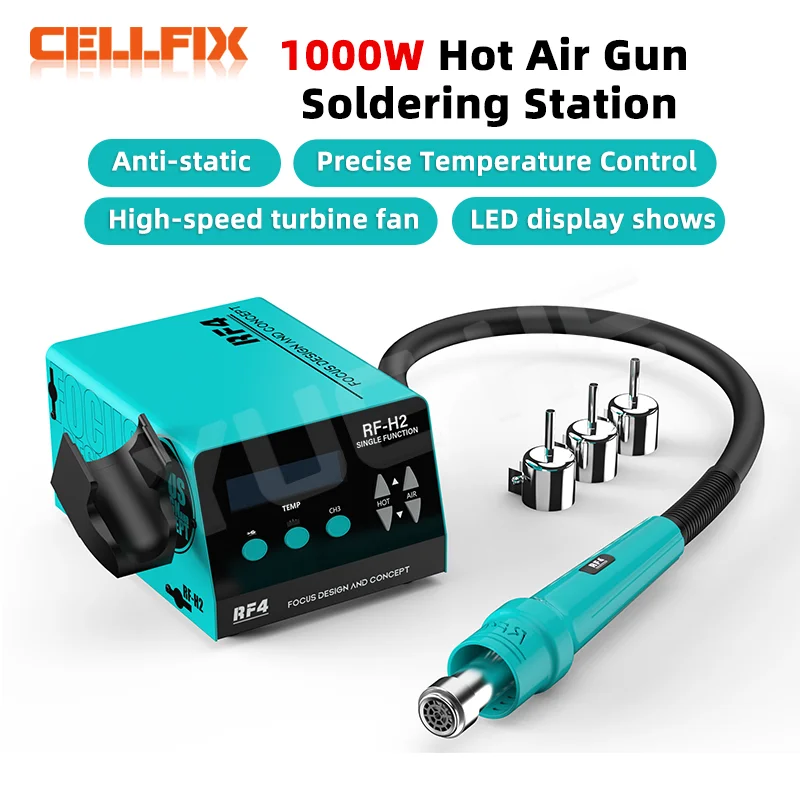

Description
RF4 1000W Fast Desoldering Hot Air Gun Soldering Station Digital Display Intelligent BGA Rework Station To PCB Chip Repair RF-H2
This is the user manual. Please follow the instructions in the manual to install the video.
https://gv-vod-cdn.aliexpress-media.com/ae_sg_gmc/video_target/gv97-cf0a60c4-a1c056e6-97c51ab3-0acc/trans/4153ea6d-8fb8-47de-8d8a-2fa05bcceef4-h264-hd.mp4?auth_key=1752829645-0-0-e8f05bc47b3851dd19934b16c12d2e82